I’ve tried to play with lighting a couple of times now and every time I’m confused by the ID of a tube being illuminated when ambient is off and only one spot light is on, which is normal to the axis of the tube. Is there a setting I’m doing wrong? Do I need to use some renderer to get lights to work as expected in real world?
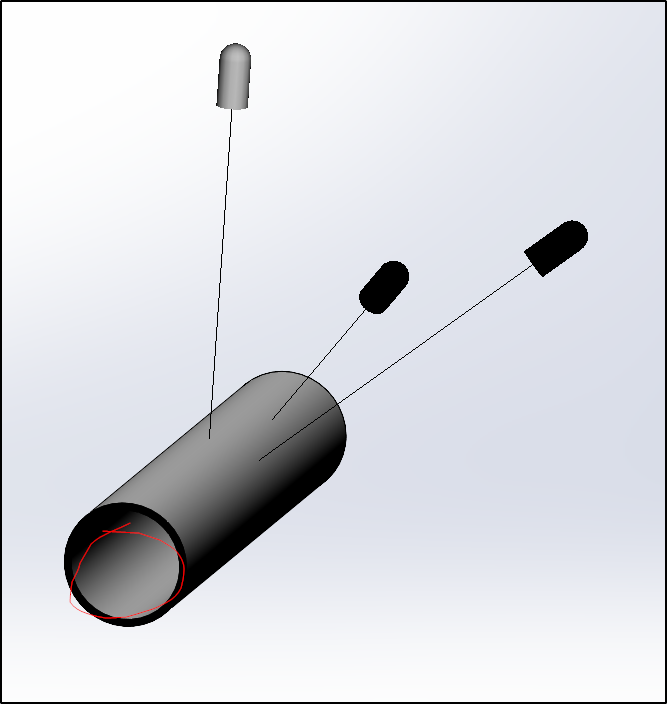
This is normal behavior. SOLIDWORKS lighting does not calculate shadow casting or ray tracing. It only determines lighting based on the surface normals, whether they are facing inward or outward. The lighting effect is calculated relative to the direction of the surface normal, not by simulating actual light paths.
You would need Photoview 360 (SOLIDWORKS 2023 SP5), Visualise, blender or some other rendering software to get realistic lighting.
3 Likes
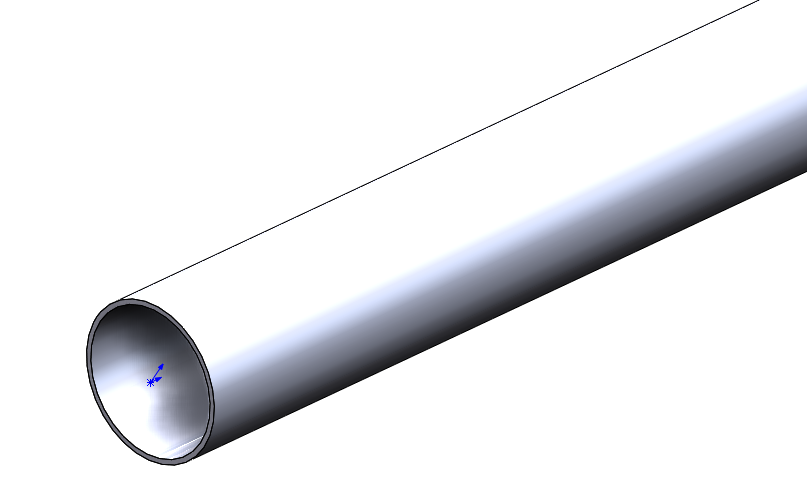
it is possible to get the inside of the tube darker by using ambient occlusion:
Here is the same tube without it:
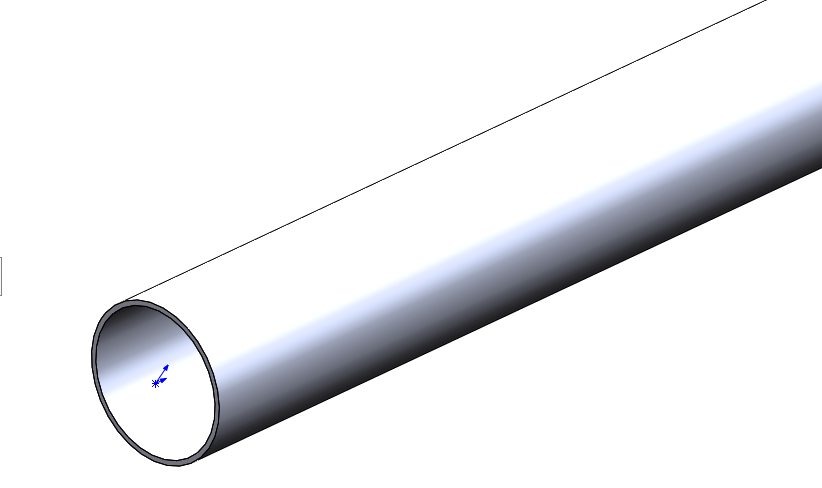
I know, it is very subtle
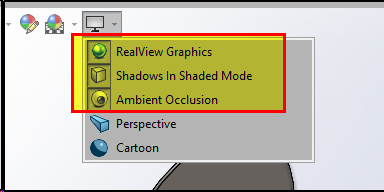
Don’t forget to set Real views graphics on and follow the instructions from SolidWorks help:
Ambient Occlusion
Ambient occlusion is a global lighting method that adds realism to models by controlling the attenuation of ambient light due to occluded areas.
Objects appear as they would on an overcast day.
Ambient occlusion is available in all scenes when you use RealView graphics.
RealView Graphics is only available with graphics cards that support RealView Graphics display.
The effects of ambient occlusion depend on other factors such as the nature of the model itself, the appearances you apply to the model, the scene, and the lighting. You might need to adjust some of these other variables to get the desired result.
- Ambient occlusion often looks best on solid color or non-reflective surfaces. Highly reflective surfaces, in contrast, can diminish the shadows in occluded areas. However, the methods used to render ambient occlusion can sometimes result in artifacts, and these can be more visible on solid color surfaces.
- Too many lights, or lighting that is too bright, might reduce the impact of ambient occlusion by hiding the shadows it creates.
You can use two different quality levels for ambient occlusion: draft and default. Draft displays models faster but with less visual fidelity.
To change the display quality level for Ambient Occlusion, click Tools > Options. On the System Options tab, click Display, then select or clear Display draft quality ambient occlusion.
To use ambient occlusion:
- Click View Settings

(Heads-up View toolbar) or View > Display, then click RealView Graphics.
2. Click View Settings (Heads-up View toolbar) or View > Display, then click Ambient Occlusion.
4 Likes
Thank you for both answers. Together they seem to cover the bases, why SW doesn’t do that, what does and a detailed way to kind of get SW to do it.
We don’t have SW Pro or Premium, from my understanding we need that to get Photoview 360.
I’m struggling to find a way to turn off the reflections, they seem to be on whenever I turn on RealView.
That Ambient Occlusion is subtle. I tried it and could not perceive a difference, but after changing to the default SW material instead of our template, and a few other things from help I am able to see a difference.
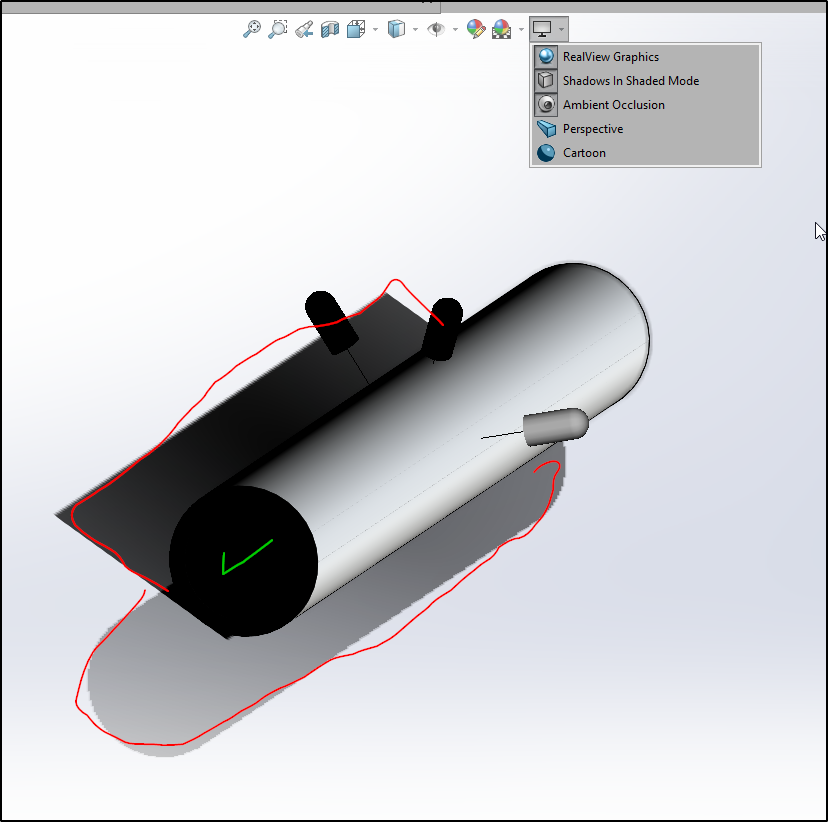
I tried Shadows in Shaded Mode and that appears to be close to what I’m looking for, but it casts a shadow on an imaginary background, which confuses the view in my opinion. If I could turn off those reflections it might help.
Pitch Black background hides them. I’ll keep playing around, maybe there’s enough in SW itself.
Thanks again for getting me started in the right direction.
Image of the shadows I’m referring to.
1 Like
5 Likes
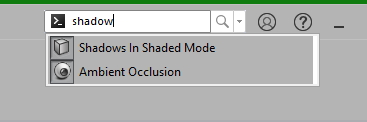
Thank you. That’s exactly what I was looking for. I was looking for “Shadows” in all the wrong places.
3 Likes
I’m on the struggle bus when it comes to view/display settings. After the experimenting with lighting and shadows a couple of weeks ago, I cannot get these to stay turned off.
I turn them off every time I use SW, they are back on every time it starts up. Doesn’t matter the file.
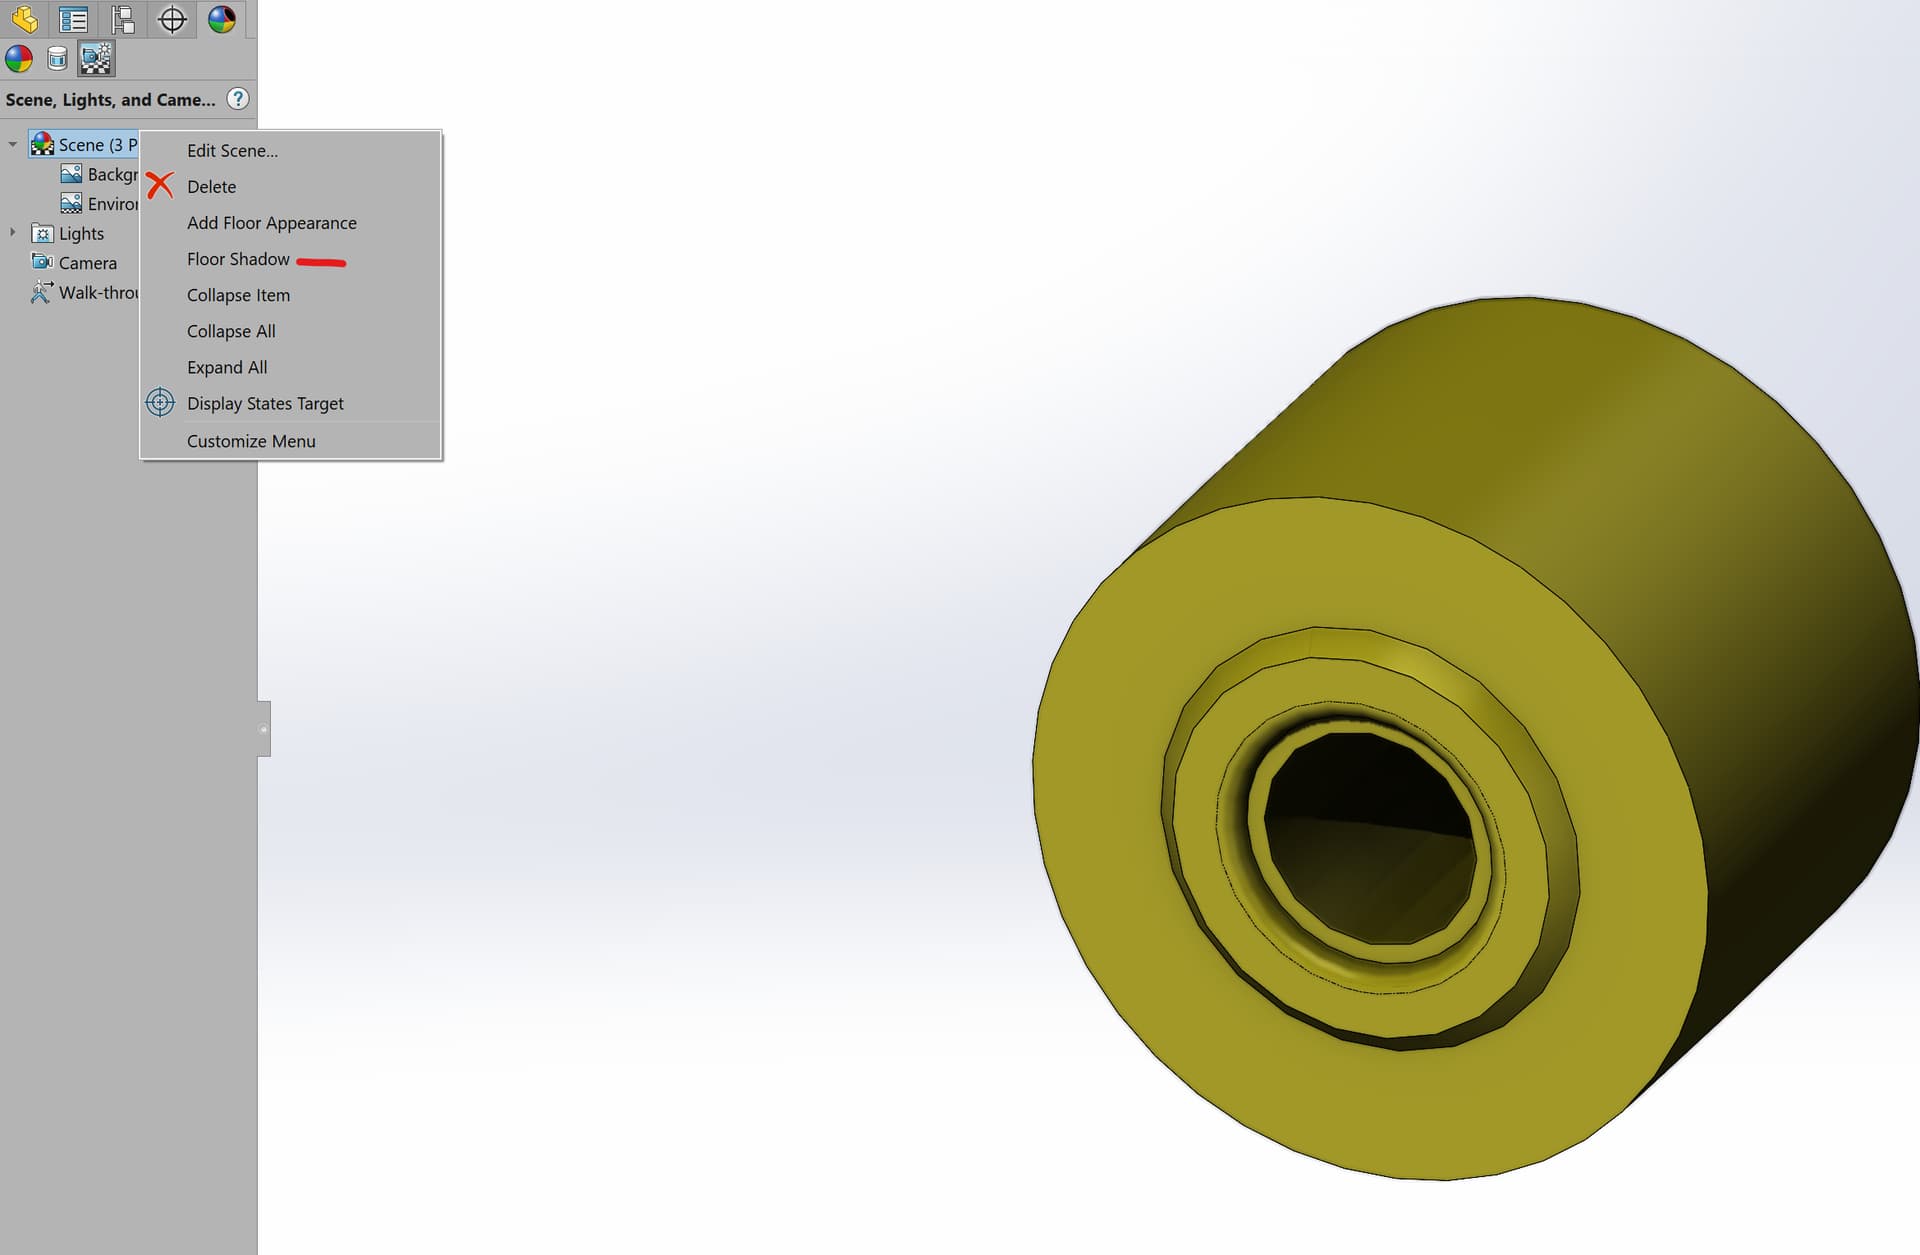
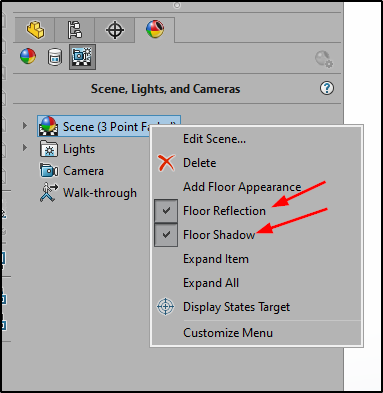
Also these floor options in the Scene settings are always checked, even though I uncheck them.
I’m tried saving the scene in Advanced tab, but that does not allow overwrite, only allows saving new file.
No sir.
Also, on 2023sp5
Are these system settings or file settings? The shadows and stuff. I know Open GL is system setting.
I get the feeling there’s some setting that needs these settings on so it automatically keeps turning them back on. I thought maybe it was Floor Shadows and/or Floor Reflection? I cannot get those to stay off either. I think they are part of the Scene settings, which I cannot seem to keep.
The "view settings are system wide, not file specific.
The scene background, lights, floor reflection are file specific. Changing scenes will toggle them on off.
A silent crash on close might leave these toggled as it might not succeed in writing to the registry.
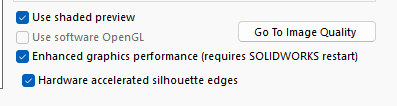
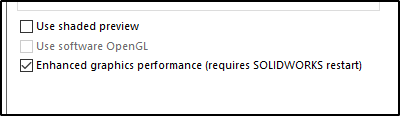
I have discovered that in order to get “Ambient Occlusion” to work properly (as it did 2022 and earlier) that you must turn off “Enhanced graphics performance”.
That setting does help in other areas, so i leave it activated, however, when doing an end of project render using some of the base view settings .. realview graphics..etc.. i have to toggle it on/off to get a good result.
Turning off enhanced graphics seems to have helped keep those settings as I had them. But all the hidden (tangent too) edges now show up; Display settings, Edge display in shaded with edges mode was set to Wireframe, not HLR before. Changing to HLR does hide the hidden lines as expected.
I turned Enhanced Graphics back on and switched back to Wireframe edge display and restarted SW. It seems to be back to normal now. I think toggling Enhanced Graphics was the solution.
I’m sorry, but these display settings seems like a bag of cats to me. It probably makes perfect sense to some. But I think I’m going to avoid messing with them in the future.
1 Like
I see the same behavior he describes in 2024 Sp5. I turn off reflectionas and shadows, save the file. When I re-open it, they are back on. They only appear with Realview turned on, so it isn’t an issue for me. I’ll record a screen grab later.
1 Like
1 Like
What’s in the gif is exactly what I saw on 2023sp5 and I believe that is also what kept turning on Real View, Shadows in Shaded, and Ambient Occlusion. Or at least the same thing was also turning those on.
Is this “Expected Behavior” according to the maker?
Toggling Enhanced Graphics seems to cure it.