Shrinking part to account for coating

Hi, I have a modelling question. I design a lot of parts for 3D printing. I tuned my printer well enough to achieve a dimensional accuracy of +/-0.025mm, which is a sufficient tolerance for most applications. However, some of the parts have to be coated with 2-3 layers of epoxy after printing for waterproofing, which can add up to 0.15mm to all dimensions - a very significant difference, which can easily throw off carefully designed fits with other parts. Therefore, I print my parts slightly smaller to account for epoxy coating, since it is a know and predictable value.

The issue is, Scale feature doesn’t do it right, because it shrinks the whole part, and while the outer features are scaled down more or less correctly, features such as holes become even smaller - the opposite of what I need. This is a quick illustration of what I mean:
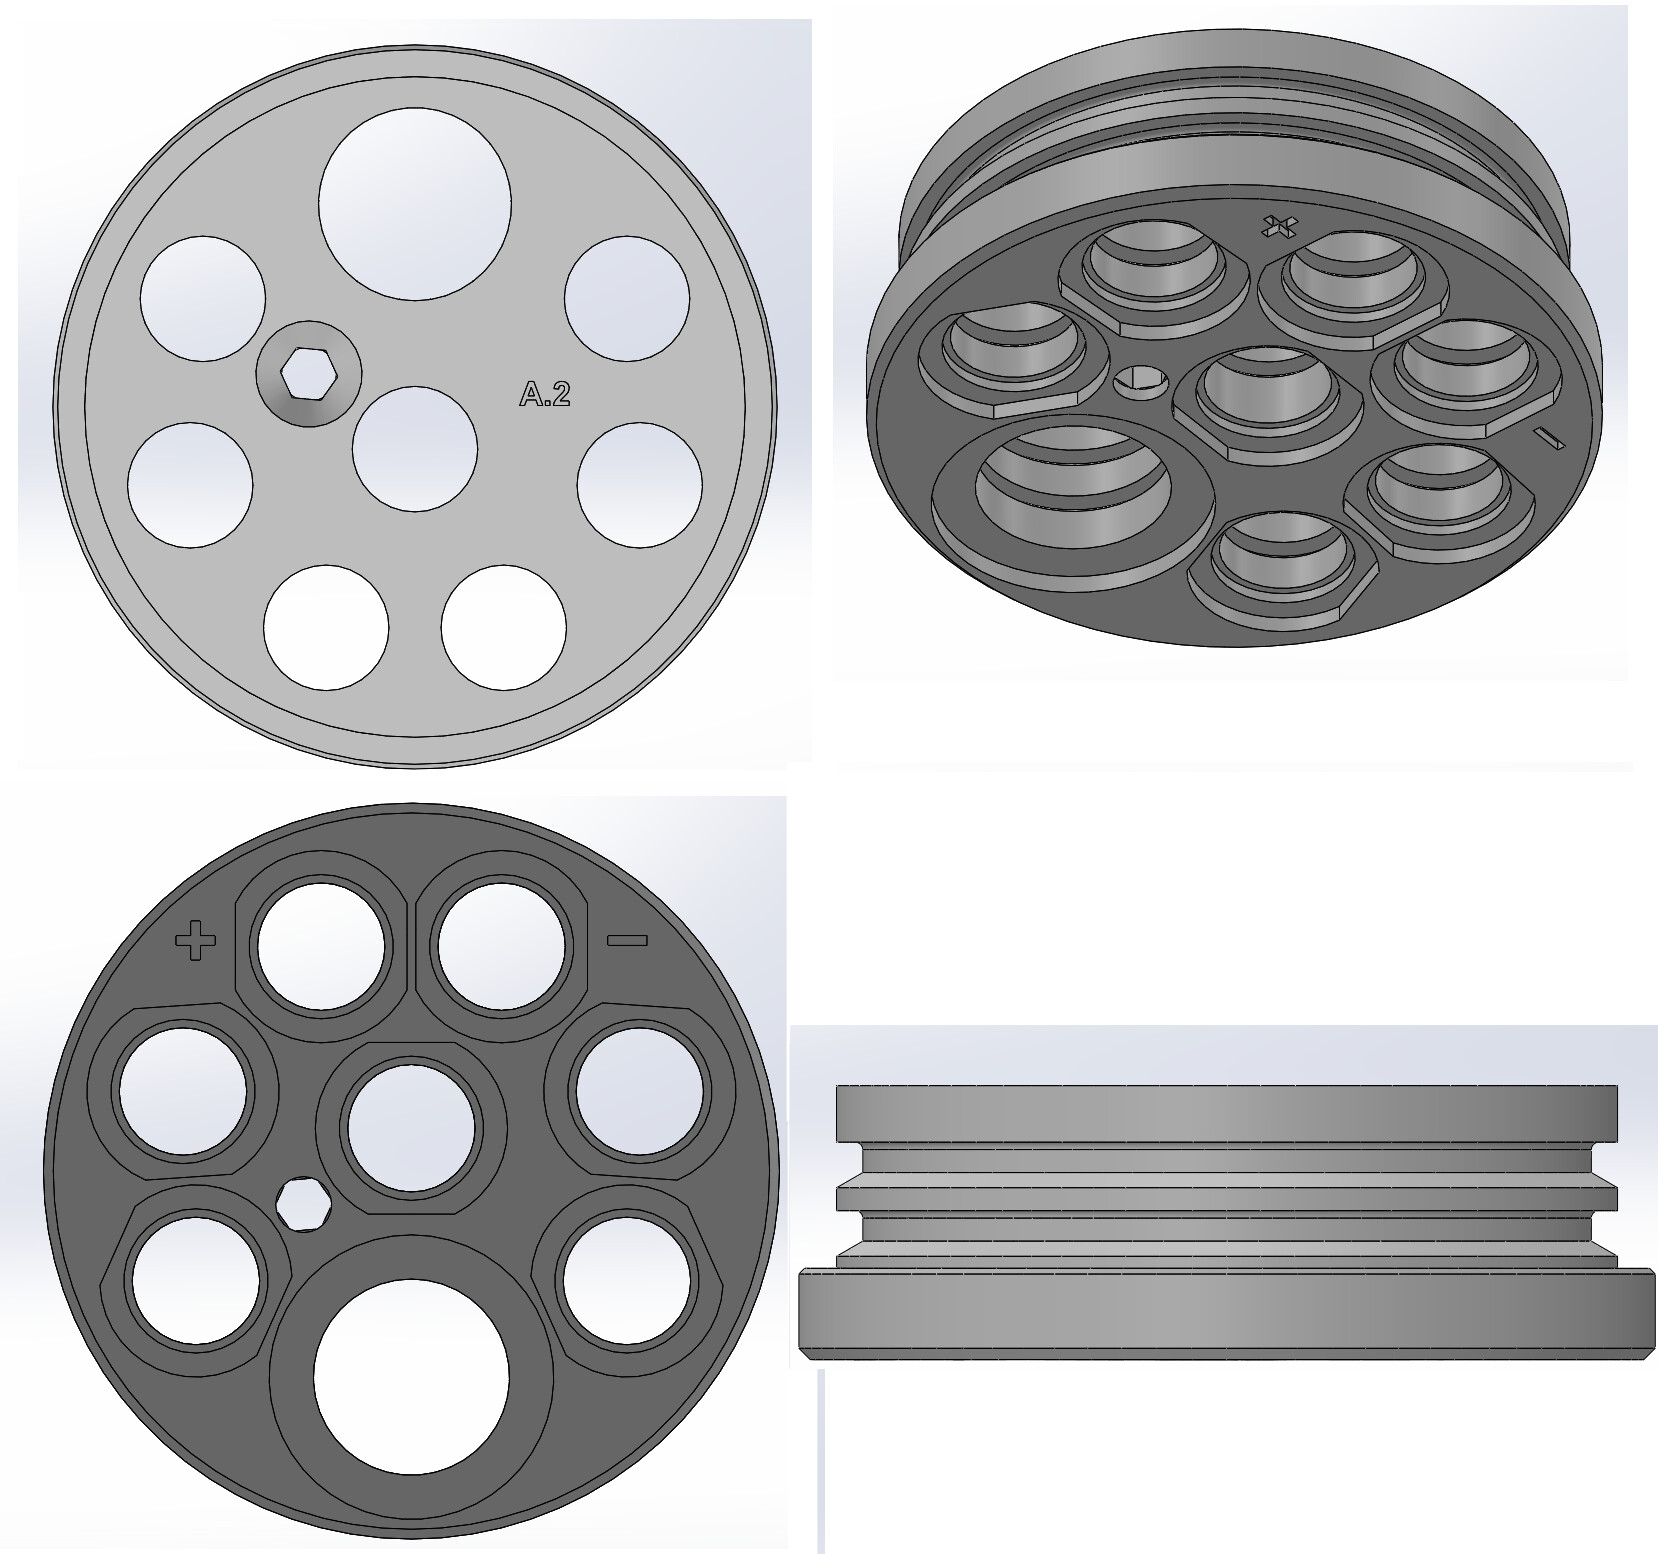
image.png
There is only one feature that I know that does correct compensation - Move Face with Offset. The issue with this feature is that it requires faces to be selected; it cannot by applied to the whole body. This means this feature has to be baby-sited, every time something changes in the model, like new features are being added or deleted, the number of faces might change, so the feature needs updating (it either throws an error because old faces are missing, or says nothing when new faces appear, which is even worse). Sometimes even changing dimensions can change the number of faces in the model. It is very annoying to have to update this feature manually, and I already produced several defective parts because I forgot to do it.

Can someone offer an alternative, some other feature / combination of features that would be applied to the entire model automatically, without the need to baby-sit it?

I can see where the scale feature would make sense, but it is not manufacturing smart. So it just sees the whole body not the features when scaling.

My suggestion would be to utilize equations with a global variable for the thickness of the coating. Then you can add this to each dimension for a specific configuration. That would allow you to design in normal values, but then have a configuration that would represent the shrunk version automatically.

Thank you for your suggestion, but the picture I provided was a very simplified case. Many of the parts I design have extremely complex geometry, where the final dimensions are a compound result of many other dimensions. It would take a math wizard to predict how to apply that compensation at the early level so that it is correct after everything adds up together. I am certainly not that good, and even if I were, it would be even more work than using Move Face… That is why I want to apply this compensation at the very end of the part design, at the end of the feature tree.

How do you calculate the thickness with scale?
And you’ve already found out it doesn’t scale everything the same.
Scale down make everything smaller, ie all holes get smaller.
Coated with epoxy, even smaller.

Add “CoatThickness” to variable.
Add and substract it on model dimension.
Yes, it’ll take lots of planning and total understanding of the part.
Done correctly you can even have model of the coating.
Once you get into it, you’ll see why it’s not a simple scale.
Sometime not even a simple offset.

Maybe surface feature will work better.

To make 3D print water proof, use a thin sealant/paint.
One that will get into tiny gaps on the part.
I even got it to work under pressure.
I spray it with car clear coat.

Maybe try shelling?

Make a copy of your part in exactly the same location. Hide the original. Shell the copy to the thickness of your coating then unhide the original and do a combine/subtract?

I wrote a macro several years ago for tolerance analysis that creates configs of your part (leaving the default untouched) for MMC and LMC based on the tolerance applied to the dimensions. It does this by changing the dimension value to the tolereance limit, then analyzing if the part volume grew or shrank. So outside dims get smaller, holes get bigger. If you added a ±0.15 tolerance to every dimension in your part, then ran the macro, it would create a config for you where every dimension was 0.15 smaller. Of course, some of your dimensions may control two surfaces, in which case you may have to give a ±0.3 tolerance…

https://www.eng-tips.com/viewthread.cfm?qid=163937

By trial and error… I know it is a bad way, I only mentioned it because I didn’t want anyone else to go down that false road while trying to help.

I know, but like I said, with complex enough parts, simply adding that number to every dimension will not result in correct final offset, because of how different features interact together. It would require extremely complicated equations with lots of trigonometry to get it right. I believe that there are cases where even Move Face - Offset would not get the right result, but as far as I’ve tried, it seems correct so far.

But that coat still has a non-negligible thickness, right? Or is it even thinner than my print tolerance? I would be very interested in exactly what material you used there. I tried several, and only epoxy seems to do the trick. But it is so annoying to work with. Would really appreciate the source for your car clear coat.

Very interesting idea. I will try this right away.

Thank you, that would work for simple parts, but again, when these dimensions add together, or are a result of non-analytical faces, it would be very difficult to get these dimensions right… I will try it nonetheless.

But that coat still has a non-negligible thickness, right? Or is it even thinner than my print tolerance? I would be very interested in exactly what material you used there. I tried several, and only epoxy seems to do the trick. But it is so annoying to work with. Would really appreciate the source for your car clear coat.

It’s thin and all you really need is fill up between layer. That’s where the gaps are.
You can fill up pretty thick there since it’s a grove from the layer.
It just spray paint from Walmart or wherever you can buy automotive spray paint.

Paint design for plastic could stick better.
I tried UV epoxy, they just pile off PLA.

Interesting. I seem to remember trying some clear coat a while ago. It worked fine for normal water pressure, but anything above 5 bar would leak through. I tried spray paint - that leaked through even at normal water pressure, perhaps I didn’t apply enough coats… The epoxy I use sticks extremely well to PLA (after light sanding with 120/150 grit). I use Elan-tech EC 152/W 152 HR (https://www.polyplancomposites.fr/_dynamique/catalogues02/fichiers/elan-techec152w152hrw152mring-95.pdf)

I tried this method now. Works really well, thank you! It is a bit annoying to set up, but after it is done, it requires no maintenance. Shame that features like Move/Copy Body, Shell and Combine cannot be saved as Library Features. I might end up writing a macro to create these features for me.

Looks like a typical 2K coating (the type where you use airfed respirator to apply), can’t you add (or more) thinner so the coating doesn’t go on so thick. It should still harden, the excess thinner will just evaporate off. I often have thinned down epoxy primer with no issue, it just ends up not being high build which is what I’m after in those cases.

I am a bit wary of using thinner in this specific case, because as it evaporates, it might leave microscopic gaps in epoxy, which will ruin it’s water-proofing properties. Instead, I usually heat up epoxy and the part a bit (to around 40-50°C), which makes it much thinner and easier to apply in thin coats. However, I find that since covering is done by hand (with a brush), the only way to truly ensure that there are no insufficiently covered areas, is to coat until the texture of the print is completely filled, turning the surface into a glass-like finish. That usually comes after 2 coats, but I add a 3rd one to be absolutely sure. It might seem extreme, but in my use case, I can’t allow even a single drop of water to pass through these parts.

I tried spray coatings, but my parts leaked through. Perhaps I didn’t apply enough coats (I aimed for 5-6), or maybe I missed some spots. I found it very difficult to make sure that the spray particles can find their way into all small features of the part, while simultaneously avoiding pooling at sharp inner corners, small hollows, etc. This is an example of one of the more complicated parts that I am coating:
image.png
Maybe someone with better spray skills than mine could manage to coat such a part in smooth, even coat without any dry spots and no pooling, but I didn’t manage, so I resorted to doing it with epoxy and a brush, which is labor-intensive, but very reliable.

“Scale” is different than “shrink”

Scale uses a single point and reduces everything in the direction of that point. Which means that holes that are not on center will actually MOVE closer to the scale center after scaling (center line of hole will NOT remain in the same location)

While Shrink just essentially offsets surfaces away from MMC.

What you want is shrink for this and not scale.

Solidworks doesn’t really have a shrink function.

You will have to almost do this manually.

You might want to drop it into a container of thinned epoxy/paint.
You need to fill gaps between layers and wall.
ie connection between extrusion.
You want epoxy/paint to sip and fill all gaps into the part.

How many walls did you print?
Try turn up the heat.
I didn’t test with final product in the beginning.
I printed smaller caps.
Once I got that watertight with spray paint, I tested final product.

I would disagree. Scale and shrink are exactly the same. An example is that everyone who has ever talk about plastic part shrinkage for the given moulding method is totally wrong is scale and shrinkage are not the same thing. What we are actually talking about here is fundamentally surface offsets on the painted surfaces - no scale or shrinkage involved for the part as a whole.

I had a new thought, you may be able to create the surfaces you need with CAD/CAM software meant for creating electrodes for the EDM process. It would be in reverse to your outside surfaces = you would run it on the inside so the surfaces would be offset inwards.


We might argue on what is the right term here, but I get what you both mean, that is why I included that example in my initial post, to show I understand the difference. And that I’m now looking for ways to do that surface offset automatically :slight_smile: As for shrinkage, that is something I also compensate for, but I usually do that in slicer software rather than in SW. The usual shrinkage for PLA is very low - around 0.24%, but still significant if you aim for tight tolerances.

I did try dipping, but with larger parts it becomes very uneconomical, as most of the epoxy is wasted. Also, after dipping it pools heavily in all small details, so excess has to be cleaned off with a brush anyway… So might was well just paint it with the brush in the first place. I usually apply epoxy quite generously, and the use brush to remove as much as possible, basically trying to get it all off - that is the only way I can ensure there will be no pooling. It takes more coats, but is safer.

I usually print with 5 perimeter walls, and 100% infil. I also vacuum the parts after the initial coat of epoxy to try and get all the air out from the tiny gaps inside the print, and to make epoxy soak in deeper. After this de-gassing, I place the parts in a 50°C oven to speed up the cure and help epoxy soak in deeper and level out better. Sometimes I heat and vacuum at the same time, especially when I need to displace air with epoxy in narrow passages inside the part that might otherwise trap air.

To test various waterproofing methods, I usually just print a hollow cylinder (shell without any openings), coat it, then place it inside a hyperbaric water chamber, subject it to desired pressure, and leave it for an hour or two. Afterwards I take the sample out, shake it and listen if there is any water inside. Even if there’s just one drop, it can be heard. So far, only epoxy worked for me. I might make some more experiments with spray paint / clear coat, but like I said, personally I’m not good enough with spray application to ensure nice, even and thin coating with no pooling and no dry spots, especially when part has many occluded features…

Can you elaborate on this? Do you mean do this in SW, or other software? Because like I said, my goal is to do this in SW, so that my workflow is as automated as possible… Adding even another piece of software would complicate things further. SW and slicer is already a lot, especially when I need to coordinate file versions :smiley:

I printed 3 wall, 20% infill. The part is a water spray nozzle. So most of it is just 3 walls.

Maybe you need resin printer.
The extra steps in coating could pay for one.

Interesting. What pressure did you test your parts at?

I have a friend who has a resin printer, and I asked him to print several parts for testing. They are waterproof, but unfortunately way weaker than PLA, especially in brittleness. That part I screenshoted earlier, as beefy as it is, cracked and nearly split in half under just 5 bars of pressure (it was used as an endcap for an aluminum tube with air inside). So I assume resin printing is not good when the part is structural.

If you are already vacuum bagging the parts, why not just fill a bag with resin, insert the part and let the vacuum do all of the work?


A few different options to consider:

3d print the shell, and then reinforce it with another material. (Fiberglass, carbon fiber, etc.)

3d print molds and make the entire part out of fiberglass or carbon

3d print 2 part molds and cast the parts in resin.