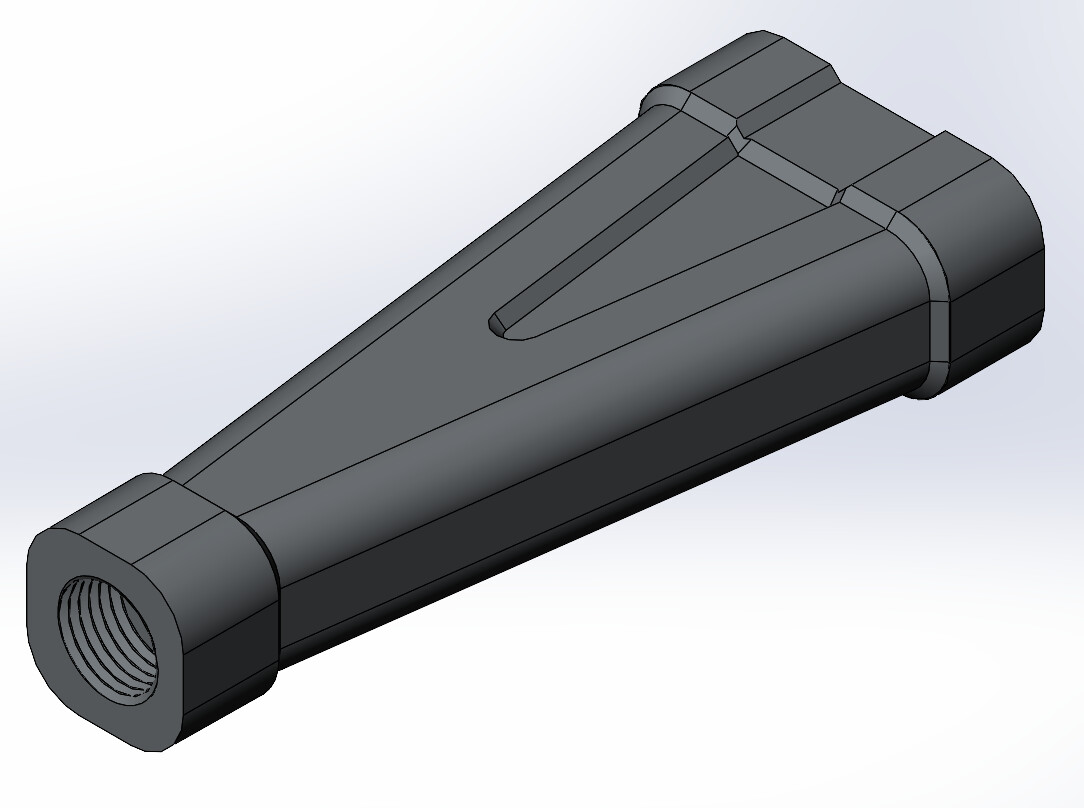
I’m remixing a splitter for my BambuLabs P1S 3D printer so I can more easily use a filament spool hung onto the back in conjunction with the AMS (a 4 slot filament feeder system).
The model I downloaded, luckily is a step file, but whatever the author used to crate it made a model that gags SolidWorks. One of the faces, in the thread of course is invalid and can’t be “healed”
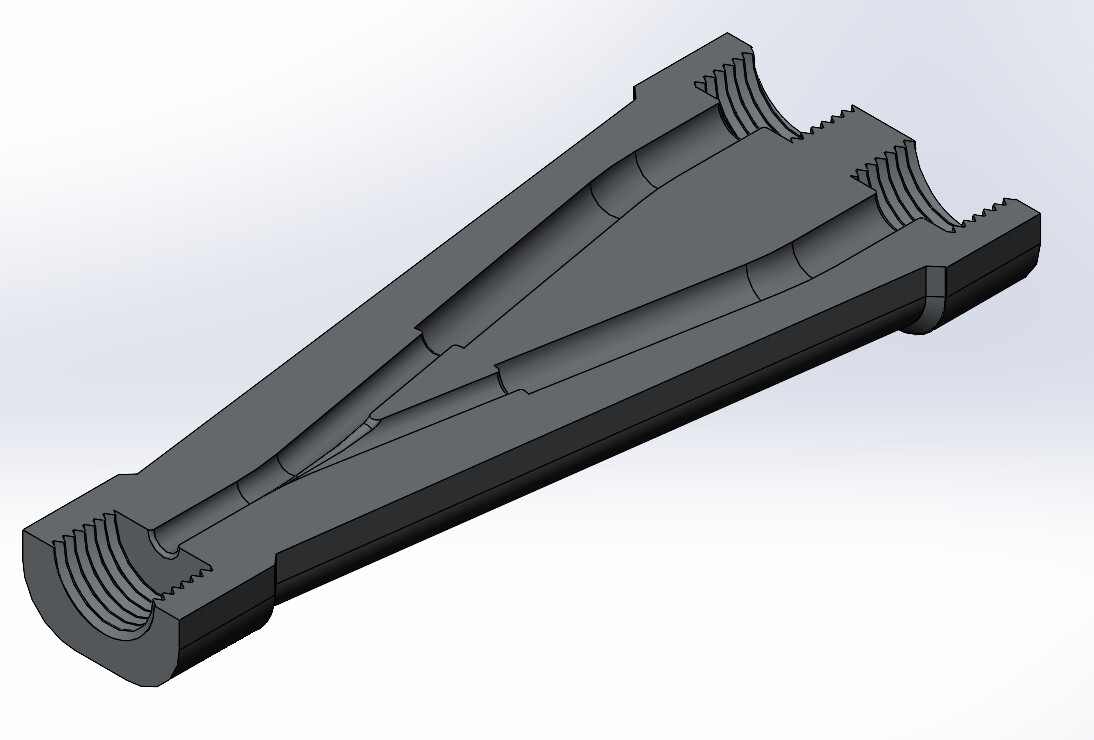
It’s got 3 x 1/8” NPT female threads, two on one end and one on the other.
Unfortunately, the damaged thread is the one that is not flat bottomed, so my first idea of just using a tap to make the threads is out.
Other than this tutorial, is there a way to actually form npt threads in SolidWorks (I’m on v2023)?
I wonder if Chris/doobes is trying to make a 3d printed piece with pipe threads on it?
I agree, for most of the models I work with, we put a shallow taper (or nothing at all!) to represent pipe threads.
doobes: Looking at that tutorial, it seems to be a fairly straightforward path to modeling tapered threads; shouldn’t be too much change to do them ID instead of OD.
I also want to offer for your consideration that the flat thread may just be an artifact of how that part was modeled. If there is not a design reason to have a truncated thread (which would be tricky to produce anyway), I bet you’re fine running a tap through it.
This what I use to make pipe treads when they are really needed. I would just do the taper in the model and let the pipe cut the threads in the 3d print.
here is what I would do, model maker tricks I’ve used for years with SW to get the job done.
Download a male 1\8 npt plug from McMaster Carr, SW native.
Next in the bad area fill the hole, then you can either in a part or assembly open the plug part, move it into position it were you need it then, in a part use the combine tool to subtract the plup from part, in assembly use the indent cut option to get the same result.
I use McMaster models all the time for 3D printing, made a custom gear from 2 different types using the combine and then modify it, printed it in PC worked slicker than snot!
The models on McMaster-Carr have always baffled me in the way they build them.
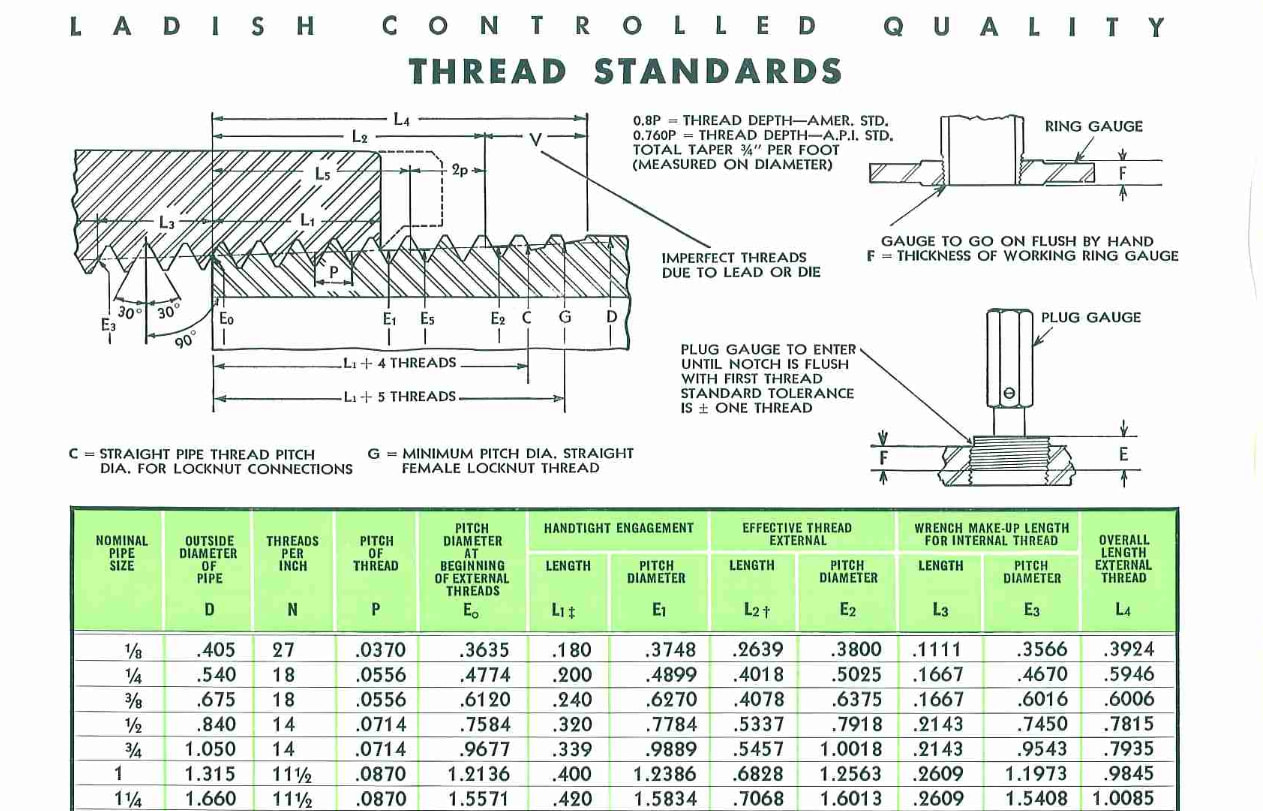
In any event, I downloaded a 1/8”NPT plug tap model, removed the fluting, inserted them into an assembly with my splitter and then subtracted them the splitter body.
Stupid easy.
The fittings are supposed to be here today. I am having a rethink of how to mount the splitter on the printer using the existing holes in the case.
since you are using ABS you can break apart your model to print areas in a better oriantation to give smoother prints, then use Weld-On 3 to solvent bond back together. I do this alot for threads or holes that need to be round. or if I need to put some sort of metal shape inside to mimic co-molded parts for strength. TIP OF THE DAY